
Clean paver faces are only part of a finished paving job. The gaps, edge restraints and underlying support still need to work after cleaning. A patio can look brighter while loose blocks, washed-out joints or a low corner remain unresolved. Before requesting a wash, identify how the paving is built and what will happen to any joint material disturbed during the work. This guide helps you ask for a complete scope rather than an attractive but unfinished surface.
Find out what is between the pavers
Inspect several joints in a dry, accessible area. Some paving has loose sand between the units. Other installations use a bound jointing product or mortar. A tidy-looking surface does not identify the joint system reliably, especially if dirt or moss covers it. Find the installer paperwork or product packaging if available. Send a close photograph with your enquiry rather than describing all joints as grout, because that word can lead to the wrong assumptions.
Check whether the joint material is present consistently. Empty channels near a downpipe, crumbling edges beside a garden bed and isolated missing patches may have different causes. Cleaning should not be used to investigate by deliberately washing more material away. If a block rocks during ordinary walking, avoid that area and have its support assessed. Refilling the top of a joint does not necessarily correct a void underneath it.
For a paved driveway, note wheel tracks and turning areas separately from a lightly used patio. Ask whether the proposed cleaning process accounts for the existing joint system and whether any follow-up joint work is included. A contractor who is only quoting the wash needs to make that boundary clear before the job starts.
Map loose edges and low spots first
Draw a simple rectangle representing the paved area and mark the house, garden, steps and drainage points. Add places where water collects or joint material appears on the surface after rain. Take a photograph from the doorway that shows the whole layout. This lets a cleaner see where dirty water might travel and allows a paving contractor to understand the areas that may need repair before washing.
Pay particular attention to the outer row. A row beside a lawn can behave differently from an edge held by a wall or other restraint. Do not dig around the edge to prove a point, and do not drive over a suspect section as a test. Record what you have observed during normal use. The aim is to identify weak areas without adding damage before anyone has assessed the installation.
A low area near sliding doors deserves its own discussion even when the pavers are attractive elsewhere. Cleaning may remove surface debris, but it does not redesign falls. If the low point stays wet, a paving or drainage assessment may be more useful than repeatedly treating the resulting marks. Keep that separate from the cosmetic cleaning decision.
Agree the order of cleaning and joint work
Start with inspection and any necessary stabilisation. Then agree a cleaning test on a sound section. After cleaning, the joints need another inspection, followed by the appropriate reinstatement if the system requires it. The exact products and timing depend on how the paving was built. Do not assume a bag of ordinary sand is interchangeable with a specified jointing system, or that all gaps should be filled the same way.
Ask who is responsible for each stage. A cleaning business may coordinate the whole sequence, or you may need a paving contractor for repairs and joint work. Either arrangement can work if the handover is explicit. Ask whether return access, weather delays and the completion inspection are included. An apparently cheaper wash can become inconvenient if you discover afterwards that the paving must remain out of use until someone else returns.
Do not set a universal drying time from an online guide. The jointing product may have its own surface, moisture and weather requirements. Get those instructions for your installation and make the booking around them. If a proposed sealer is also involved, check that the completed joint system and paving condition are suitable before adding that extra step.
| What you notice | Useful next step | Avoid |
|---|---|---|
| Loose sand joints in otherwise firm paving | Ask how disturbed sand will be assessed and replaced | Assuming the wash includes joint reinstatement |
| Cracked mortar or bound joints | Identify the joint product and repair scope | Filling with an unrelated product |
| Rocking units or spreading edge | Arrange paving assessment before washing | Treating top-up sand as a structural repair |
What a useful cleaning test should show
Choose a test section that includes paver faces and representative joints. Record both before the clean. After the area dries, compare colour, texture and the condition of the gaps. If a cleaner shows only the centre of a paver, ask to see what happened along its edges too. Fresh channels or obvious loss of joint material are part of the result, not an unrelated problem to ignore.
Pavers can retain differences from age, shade, repairs or previous treatment. Decide whether you are seeking removal of loose dirt, reduction of particular marks or a colour change that cleaning cannot deliver. Compare similar units where possible. A replacement paver may never match its older neighbours perfectly, and repeatedly treating everything around it is not a reliable way to achieve a uniform finish.
Adbri's paver maintenance guidance recommends beginning with regular sweeping and appropriate cleaning, and distinguishes efflorescence from ordinary dirt. Use the maker's directions for the actual paver rather than assuming all masonry accepts the same chemicals. Where the surface identity is uncertain, keep the first test conservative and ask for product advice before using a stain remover.
Protect the surfaces around the paving
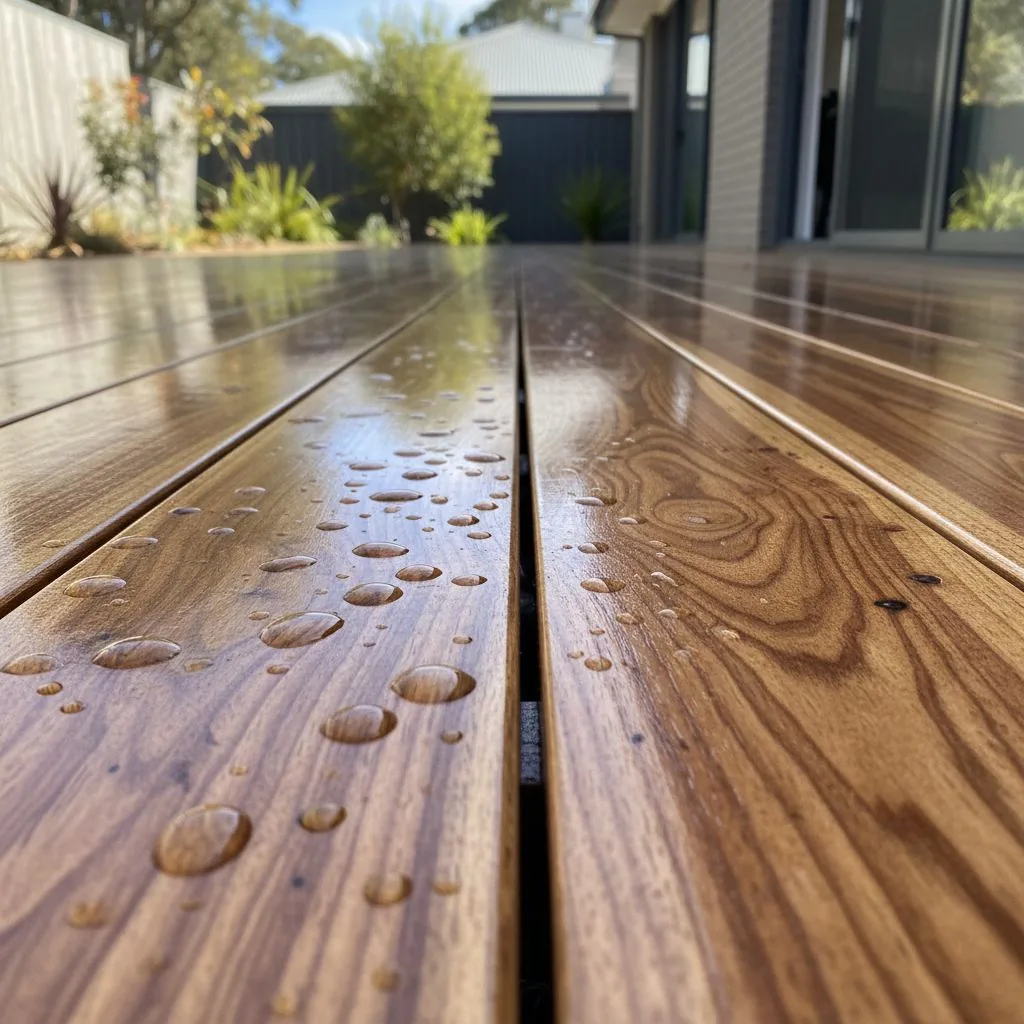
Patios often connect several materials in a small area: pavers, timber boards, aluminium door tracks and painted walls. List those junctions in the quote request. A process selected for the paving may be unsuitable for a nearby deck finish. Ask how the work will prevent dirty runoff, cleaner residue and splashed grit from being left on the adjoining surfaces. Moving furniture beforehand also makes the boundary easier to inspect.
Lift lightweight pots only if safe, then check the marks beneath them. Heavy pots and fixed garden beds need an agreed plan. Do not drag furniture across the surface or assume plants can simply be soaked with cleaning solution. Tell the contractor about edible planting, ponds and pet areas so they can assess protection and water collection. The question is what will happen at this patio, not whether a product sounds environmentally friendly.
At doors, keep drainage slots and tracks in the conversation without treating them as outlets for dirty water. Photograph the threshold before work, especially if it already leaks in rain. A cleaning method should account for that weakness. Repairing a leak and cleaning the paving are separate tasks, even when the same area draws your attention.
Separate joint growth from the reason it returns
Growth in a joint is visible; the source of ongoing moisture and debris may be less obvious. Note whether it is concentrated beneath a tree, beside an irrigated bed or along a shaded fence. A wash may improve the appearance while those conditions remain. Ask how loose plant material will be removed and how the joints will be left, rather than accepting a broad promise that weeds will never return.
Sweeping leaves before they break down helps keep fine material from accumulating on the paving. For a narrow side path, check the easy-to-miss strip behind bins and beneath hose reels. Keep a simple record of where growth first reappears after cleaning. That pattern can guide practical changes such as adjusting irrigation overspray or clearing accumulated debris, subject to the needs of the garden and the actual site.
Do not combine weed treatments or household cleaners in the hope of accelerating the work. If a product is proposed, identify it and follow its label and the paving manufacturer's compatibility advice. For children and pets, ask about exclusion and return access for that product. A generic statement that a patio is safe when dry does not replace the actual instructions.
Hypothetical example: a shaded Pakenham side path
Consider a paved side path between a house and a garden fence. The central walkway is dark, several joints near the tap are empty and one paver rocks beside a drain. The owner initially asks for everything to be pressure washed. The more useful brief separates the dark surface from the empty joints and the unstable unit, because each observation points to a different part of the job.
A paving inspection addresses the rocking unit and checks the nearby edge before cleaning is arranged. The cleaner then tests a sound section and explains how the joints will be checked afterwards. The owner moves bins to create a clear exit route and notes the area where water from the tap regularly lands. That prevents the clean from being judged only by whether the central strip looks brighter.
At completion, the owner checks the dry paver faces, the joints and the transition beside the drain. The next maintenance step is to monitor that tap area rather than book another full wash automatically. This sequence spends effort on the reason the path is troublesome and leaves a record that will help if the same pattern returns.
Check more than colour at handover
Walk the completed area from a safe dry position and compare it with the photographs taken before work. Check that agreed edges and corners were included. Look for loose residue near drains, piles of removed joint material, splash marks on doors and obvious changes at adjoining timber. Raise these observations while the contractor can still explain what was found and what follow-up is required.
Ask for the name of any jointing or sealing product used and keep its care instructions. If joint work is still to come, confirm who owns that task and when the area can be used. Record any pre-existing uneven units that were excluded from repair. The handover should not imply that cleaning has made a previously unstable path structurally sound.
For your next enquiry, keep a small set of photos rather than a large unsorted album: whole area, typical joint, worst joint and the relevant threshold or drain. Add your main objective and the location in Pakenham or the surrounding service area. This gives the contractor enough information to decide whether a cleaning quote alone is appropriate or a paving assessment should come first.